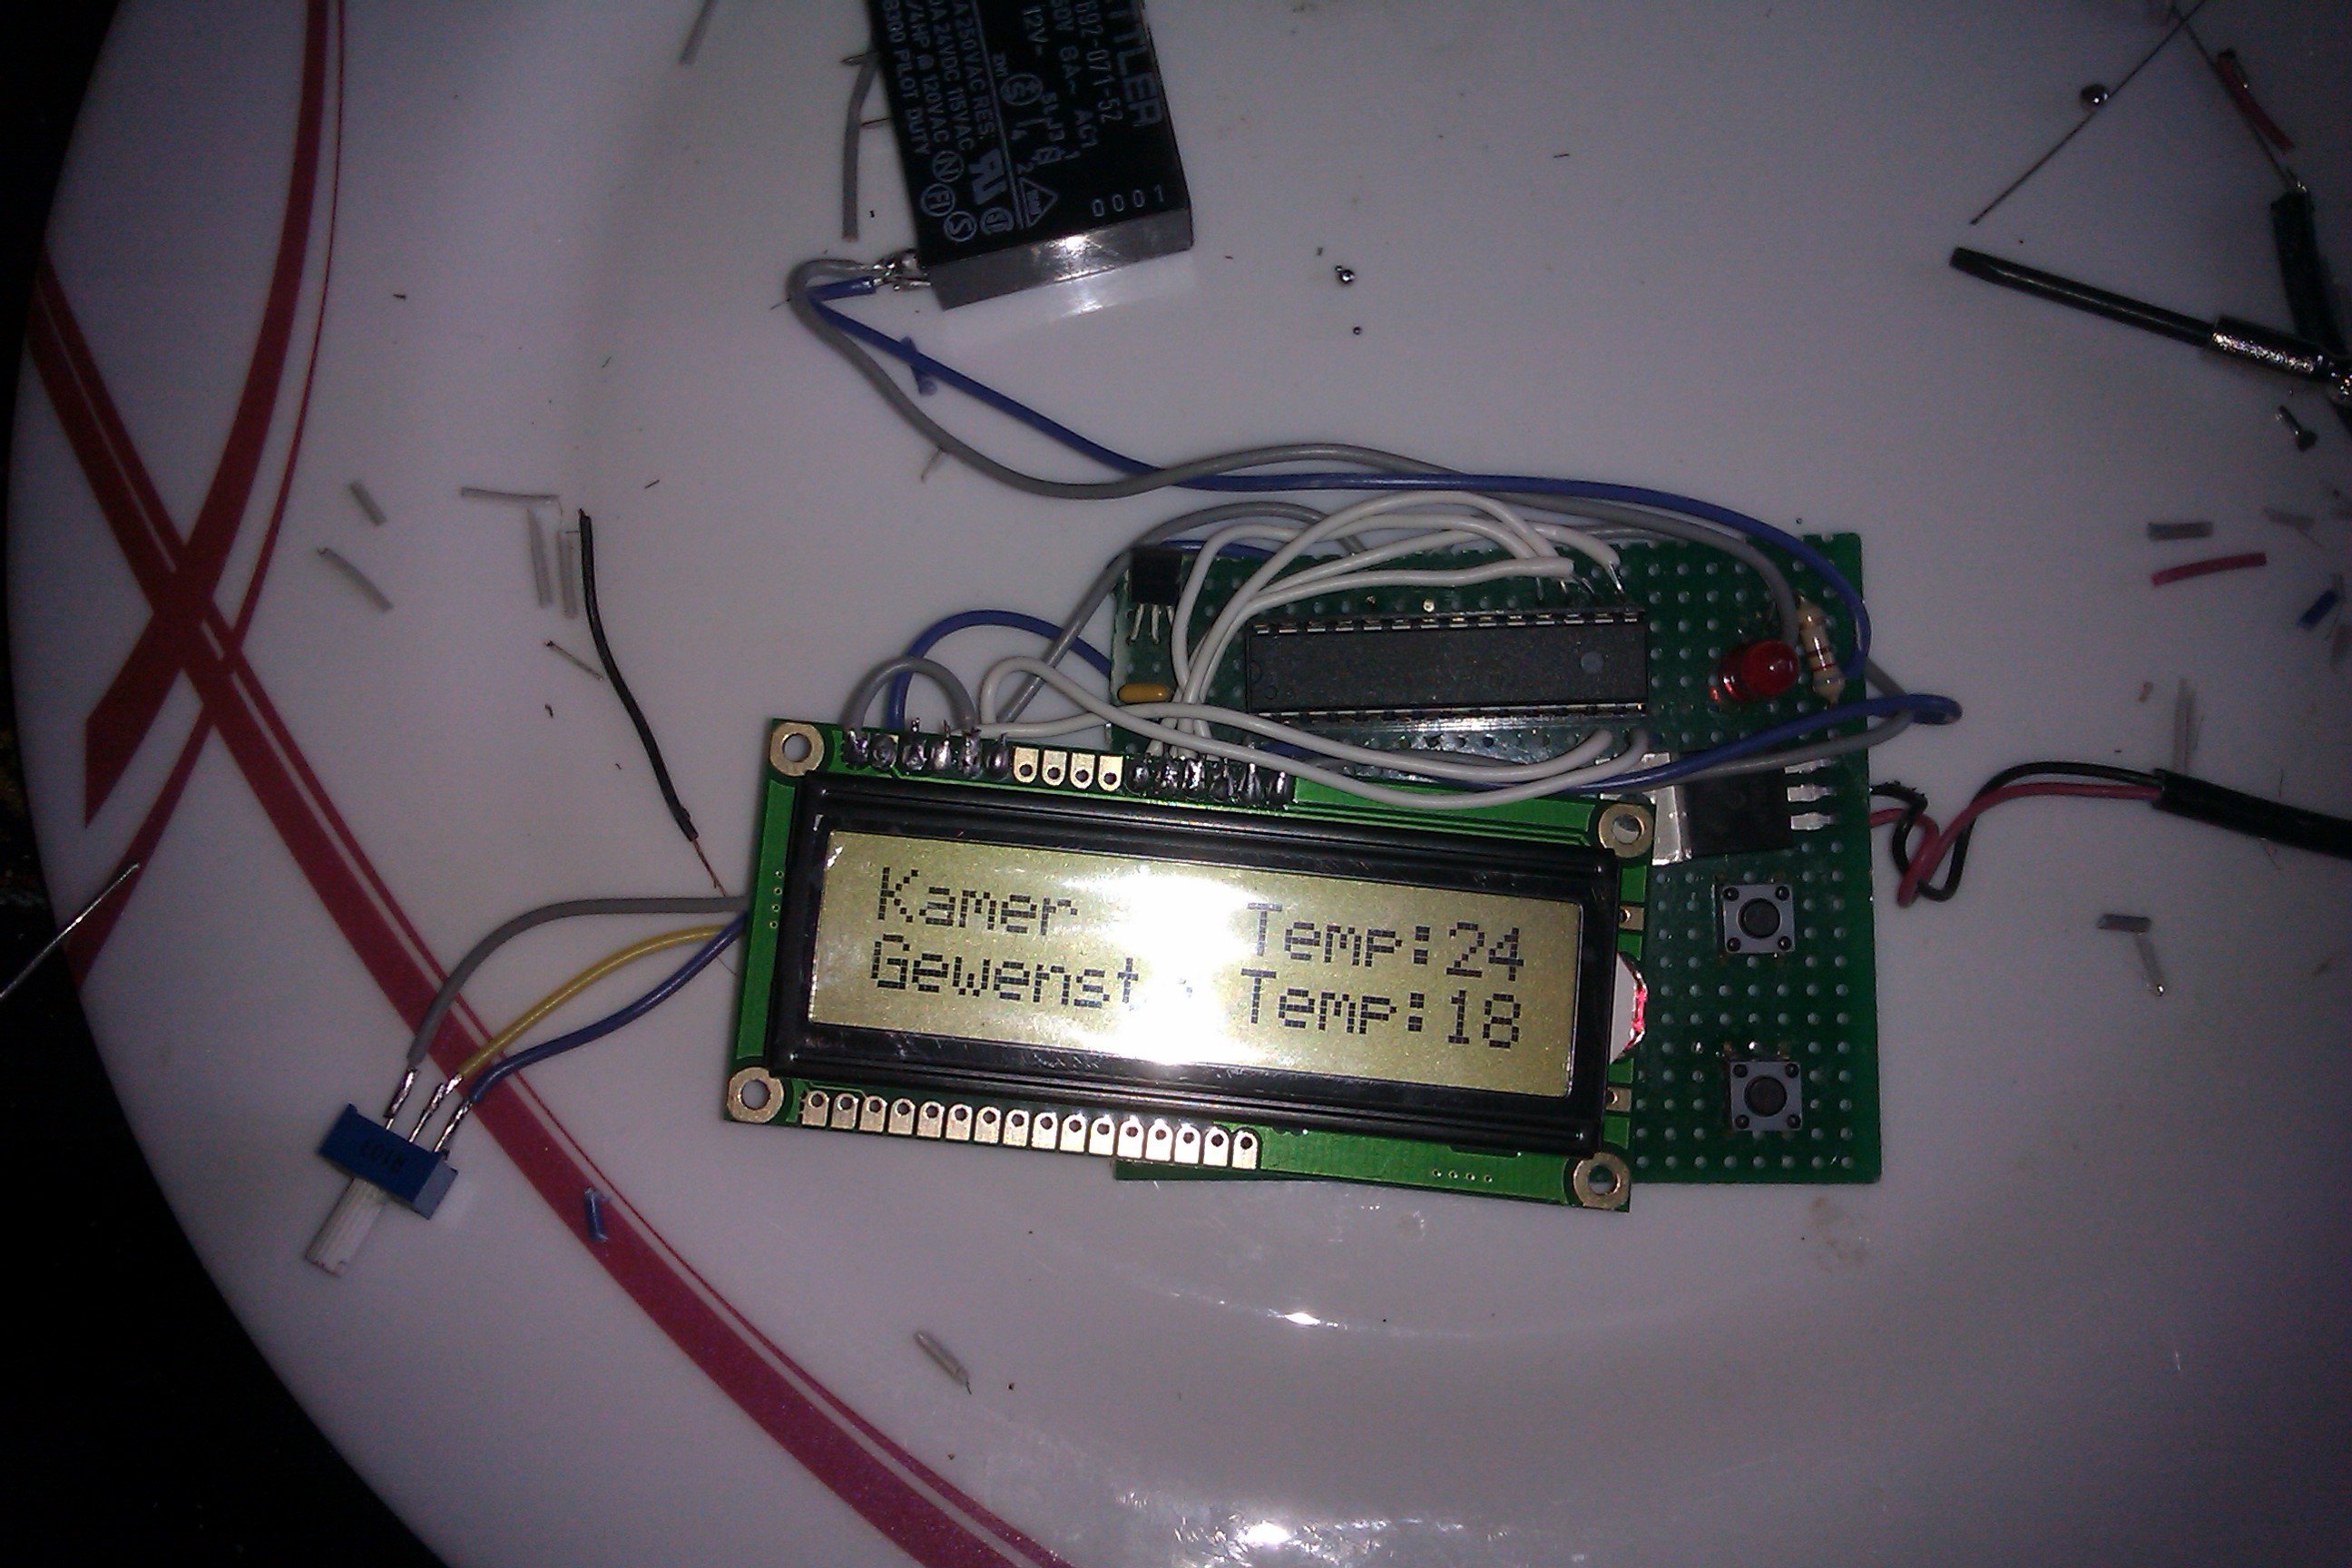
Build in progress:

Written by Walter Schreppers on 15/10/2012
About a year ago I made this breadboard version of a web based thermostat. It connects an arduino to a newit pc with usb and controls my central heating with a web interface. I dubbed it the iphone thermostat because the web interface worked well on an iphone (it mimics the iphone user interface with css/javascript): iPhone thermostat
Well this weekend I decided to make a proper build of this idea. I've converted the breadboard and arduino into a single pcb (well stripboard with lotsa wires) and a standalone atmega328. I've got 4 wires left to do. +5v and gnd go to supply of the raspberry pi. TX and RX lines will go to the gpio of the raspberry pi (need a level shifter for that to go from 3.3 to 5v and waiting for that order ). Basically allowing me to run the web application on a raspberry pi and then have that control the wanted temperature.
Build in progress:

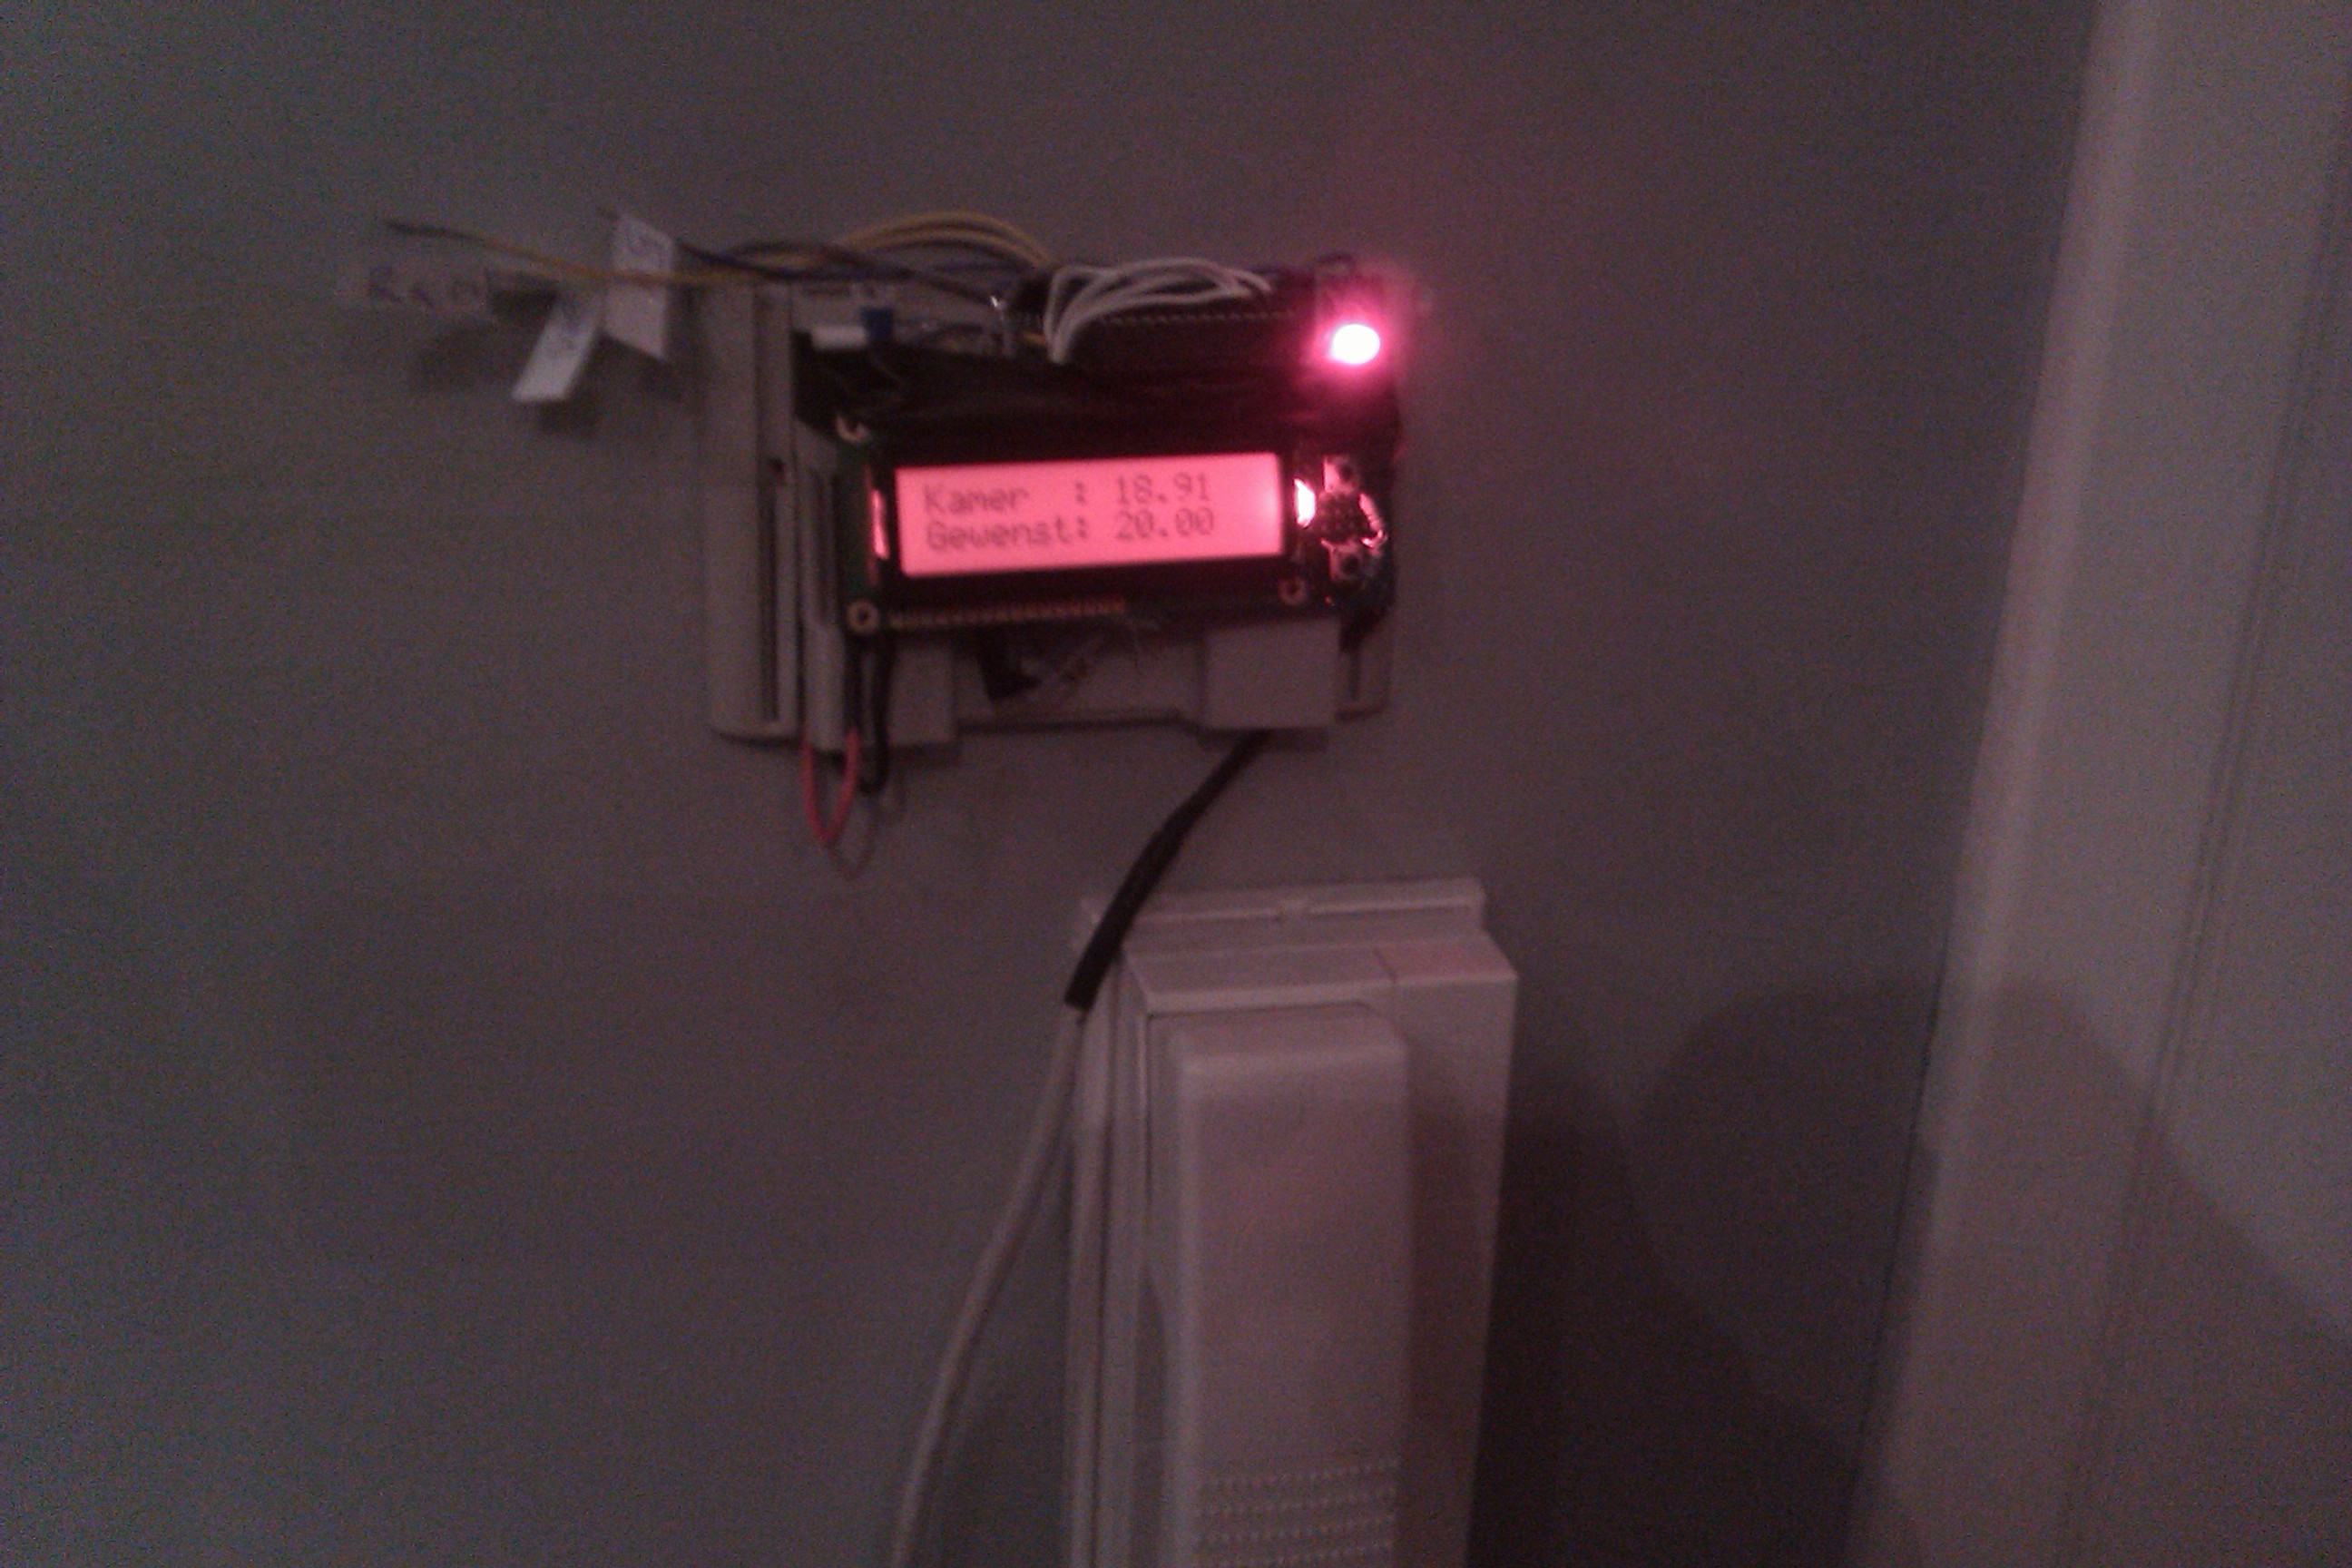
New thermostat on my wall in my house in Edegem:

Tonight or tomorrow I'm gonna print a nice casing for it on my reprap. Here is a video of it running for first time without arduino/breadboard.
Had a bit of a cold yesterday. Anyway I should mention it's going to be connected to a raspberry pi. The four wires you see in picture (is version on my wall today) are tx/rx for sending/receiving serial commands on the gpio of raspberry pi (much like sending g-codes to a printer, we can send and receive wanted and current temperature over serial). And a +5v & ground are exposed for also connecting to the raspberry pi. => Basically instead of using arduino usb serial, we use gpio to send/receive data from the atmega with a softserial and some gpio pins : raspberry pi to arduino or atmega with gpio The level shifter/buffer chip used in above link only costs about 40cents on mouser: CD4050 level shift 3.3 to 5v Ow yeah had a bit of a cold yesterday, so also forgot to mention the 12volt is used for switching on/off the relay. Most likely if i'd build this again I'd go for a 5v relay instead because then the 7805 regulator is not needed and I can use a 5v supply instead of a 12v supply. Also note that I like this not having batteries. The android post I saw is using the android battery, so that lasts about a day before your android is out of juice and you can't turn on your heat anymore ;). The cool thing is that this circuit already worked flawlessly an entire winter last year. It's standalone atmega328p controlling the heater and the rasp-pi only exposes some json calls and webpages to control the set temperature and read out the current temperature.